Help · Guide 3 of 5
Mark and lock fields
Choose what customers can change. Everything else stays exactly as designed.
-
Step 1
Click the line customers should change
The editor shows your design with a list of layers on the left. Click a line of text on the card (for example the name) or pick it in the layers list. Its settings open in the inspector on the right.
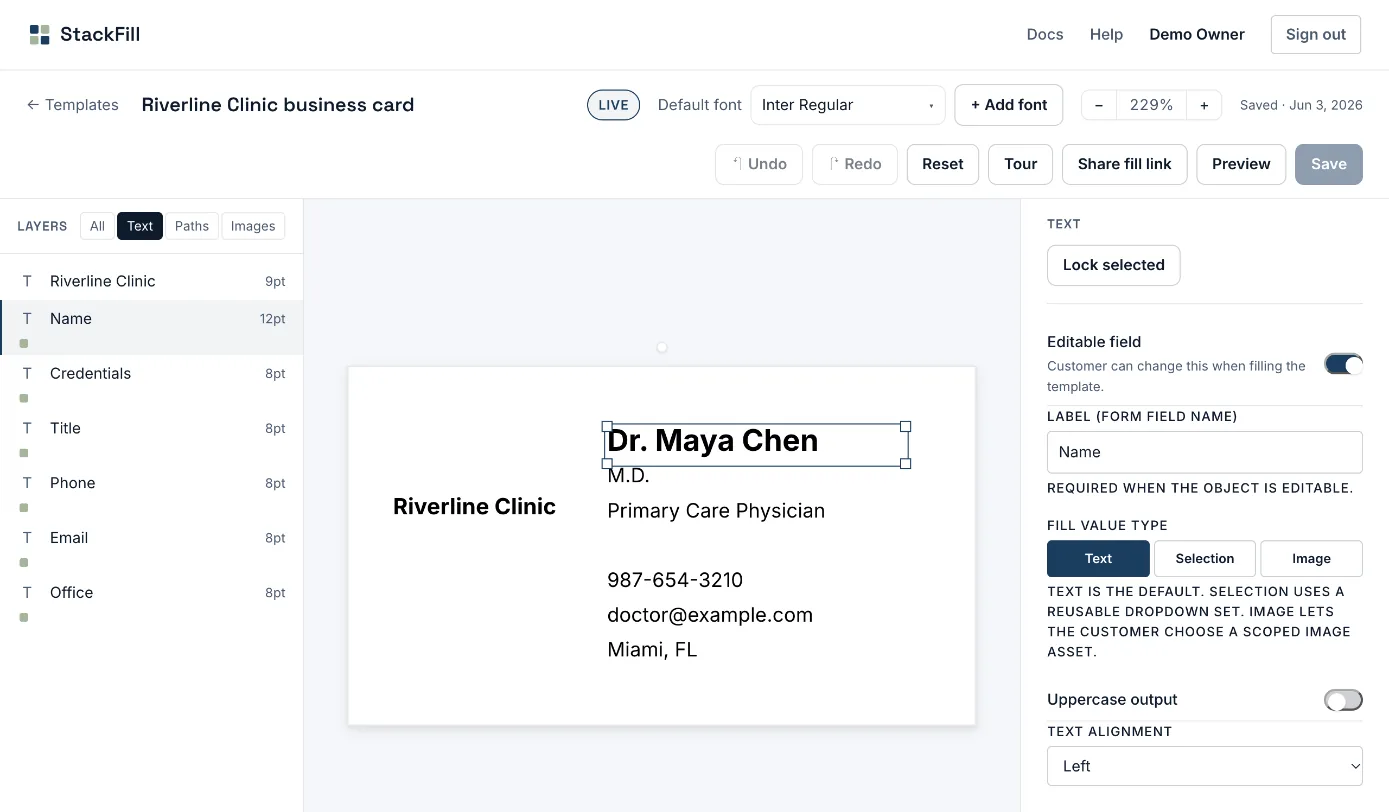
The editor on a business card: the Name line is selected and Editable field is on. -
Step 2
Switch on Editable field
Turn on Editable field and give it a label the customer will understand, like “Name” or “Direct phone”. Then choose the type:
- Text: the customer types it.
- Selection: a dropdown you control, for example a list of office addresses or job titles.
- Image: the customer picks a photo or logo.
Turn on Required if the card can't print without it.
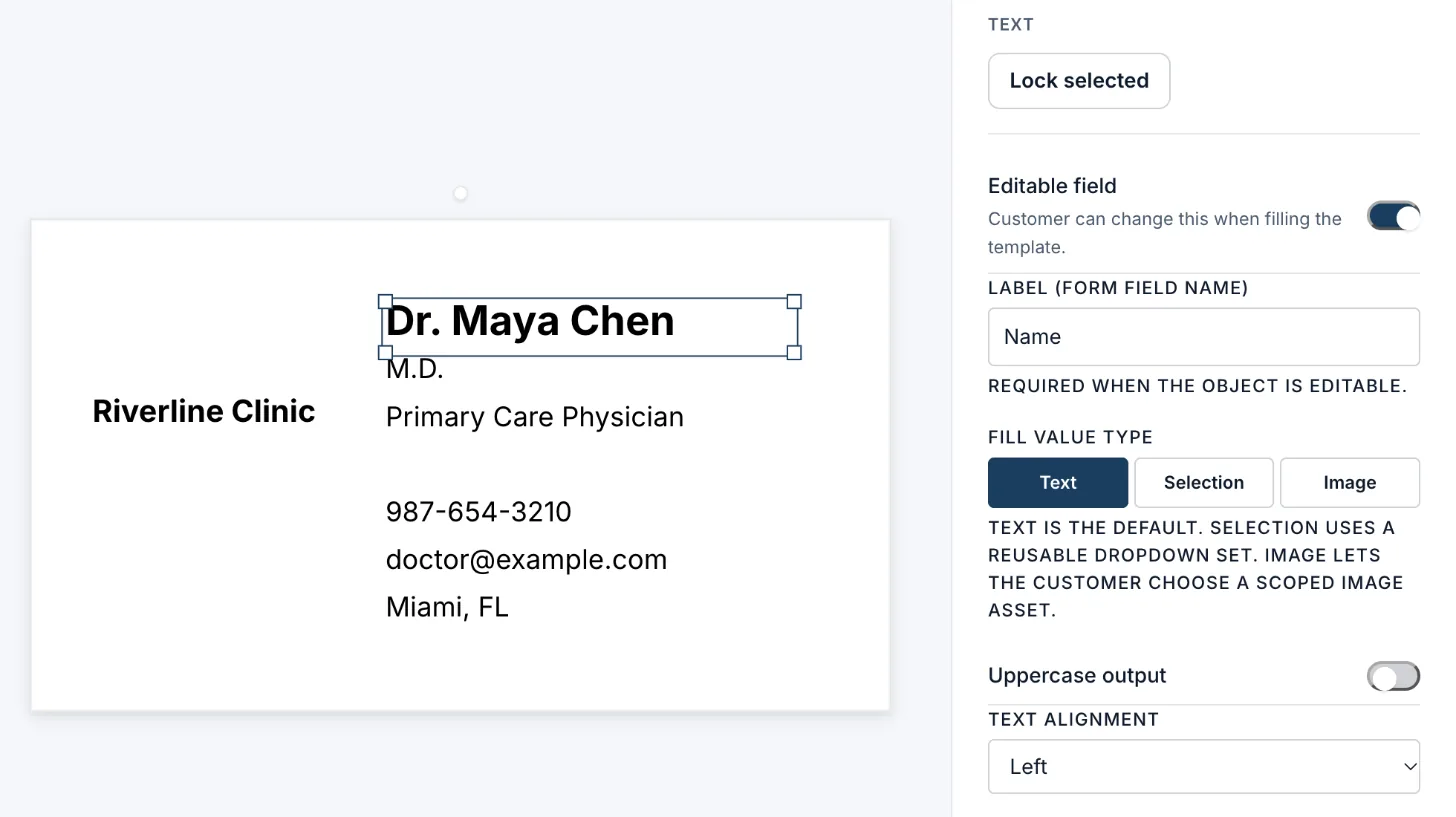
Close-up of the inspector: Editable field, the field label and the fill type. -
Step 3
Lock what must not change
Anything you don't mark stays exactly as in your PDF: logo, colors, layout, trim. For extra safety, select items and press Lock selected, or use Edit-locked (text can't be changed) and Drag-locked (nothing can be moved). Group + lock keeps a block of lines together.
-
Step 4
Preview a proof
Press Preview to see a watermarked proof with sample text. Long names shrink to fit their line, so try the longest name you expect. Previews are free on every plan.