2026-08-03 · StackFill
Online PDF Proofing Tool with Live Preview: Checklist
A print shop checklist for live PDF proofing: CMYK accuracy, spot colors, bleed, locked zones, and file-match from approval to press-ready download.
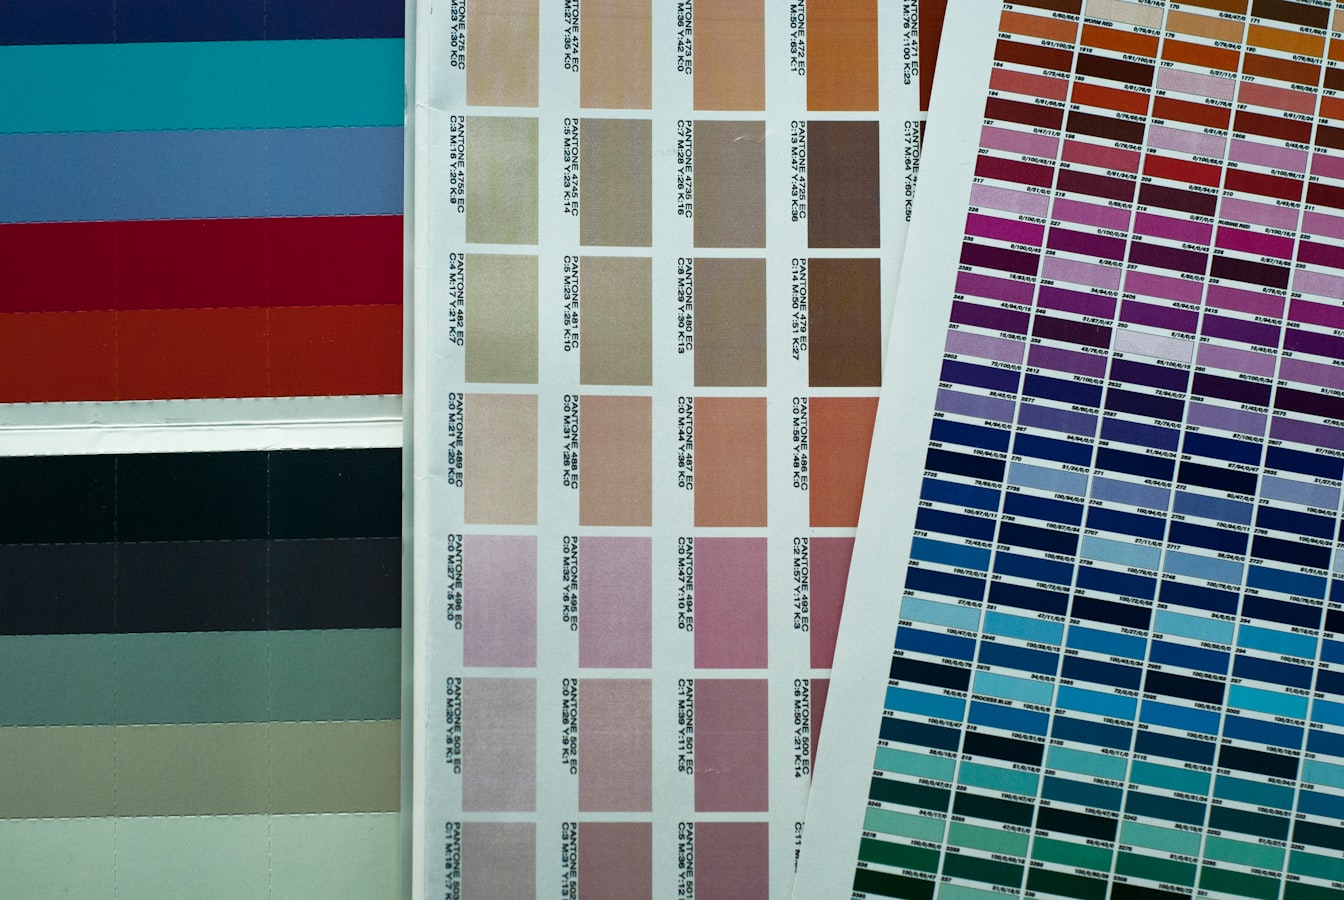
Online PDF Proofing Tool with Live Preview: A Print Shop Checklist
Most online PDF proofing tools show customers a flat image rendered in RGB on a screen. The customer clicks approve, the file goes to press, and the printed piece looks nothing like what they saw. Colors shift. Text that appeared editable turns out to be locked deep in the PDF structure. Bleeds are missing. The shop gets a reprint request, and nobody is happy.
This checklist walks print shops and their customers through exactly what a live proof must display before anyone authorizes a job. If your current online PDF proofing tool does not cover every item below, you are approving on faith, not evidence.
Why Most Online Proofs Lie to Your Customer
The core problem is a rendering gap. Most browser-based proofing tools rasterize the PDF to a screen-optimized image, typically sRGB or generic RGB, and display that. What the customer sees is a plausible approximation. It is not a representation of what the press will produce.
A flat RGB preview cannot show:
- How CMYK ink values will actually render on the intended substrate
- Whether spot colors are being converted or preserved
- Where the trim line falls relative to live content
- Which text fields are editable and which are protected
This gap matters most for shops handling branded collateral, because a brand's Pantone value is a contractual specification, not a suggestion. It also matters for any job with a tight bleed requirement, which is nearly every job. The proof the customer approves should be the file the press runs. If the two are different documents, the proof is a lie.
The Six Things a Live Proof Must Show Before Print Approval
Before a customer hits approve, the live proof must render and communicate six things clearly.
1. Bleed and trim indicators. The proof should display the full bleed area and mark the trim line so the customer understands that edge content will be cut. A flat screenshot cropped to the finished size teaches the customer nothing about safety margins.
2. Accurate CMYK color representation. The preview must reflect CMYK ink values, not an RGB screen approximation. This does not mean the monitor will perfectly simulate the press sheet, no screen can do that without hardware calibration and a substrate profile. It does mean the color space should not be silently converted from CMYK to RGB during preview rendering.
3. Spot color handling. If the original PDF specifies Pantone or other spot colors, the proof must display those colors in a way that reflects the intent, not a generic CMYK fallback. Shops that have worked through spot color preservation in web-to-print workflows know that silent spot-to-process conversion is one of the most common causes of approved-then-wrong jobs.
4. Locked zones clearly distinguished from editable zones. The customer must be able to see which elements they can personalize and which are fixed. If the proof looks identical whether a zone is editable or not, customers will attempt to modify things they cannot change, or assume freedom they do not have.
5. Real-time update when fields are filled. When a customer types into a text field or selects an image, the proof should update immediately in the same view. A static before-and-after comparison is not a live proof. The customer needs to see their actual content in context before approving.
6. The download must match the preview, byte-for-byte. This is the most important item on the list, and the one most tools fail silently. If the file that downloads differs from the file the customer approved, different color profile, different resolution, different color space conversion applied at export, then the proof was decorative.
CMYK and Spot Colors: What the Preview Needs to Render Accurately
Color fidelity in proofing starts with not converting the source file. A PDF built in CMYK for press should stay in CMYK through every step: ingestion, preview rendering, field personalization, and final export. The moment a tool converts to RGB for display and then converts back to CMYK for output, you introduce rounding errors and profile mismatches that show up on press.
For shops running CMYK process work, the practical standard is to verify that the output file carries the same CMYK values as the original for all locked elements. Personalized elements, a customer's name, address, or photo, should be placed in CMYK space as well, not composited as RGB objects.
For spot color jobs, the question is whether the tool passes Pantone designations through the PDF structure or silently converts them. The Web to Print CMYK Color Accuracy audit checklist covers the preflight checks worth running on any tool before you trust it with a brand-critical job.
Shops that have worked through PDF/X compliance will recognize this as the same issue addressed in PDF/X-1a compliant web-to-print workflows: the file standard exists precisely because generic PDF export does not guarantee press-safe output. Your proofing tool should respect that standard through to the download, not just at the submission stage.
Locked vs. Editable: How the Proof Should Reflect What Customers Can (and Cannot) Touch
A good live proof is not just a color-accurate preview. It is also a permissions display. Customers need to know, before they fill anything in, exactly where they are allowed to make changes.
This matters for two reasons. First, it sets expectations. A customer who discovers mid-session that they cannot move the logo or change the font will be frustrated if the interface gave no indication of those constraints upfront. Second, it protects the shop from design errors introduced by customers who exceed their intended scope.
The right behavior: locked elements should be visually stable and non-interactive. Editable fields should be clearly marked and respond to input. The underlying design, locked plate content, and brand assets should never move or degrade regardless of what the customer types.
StackFill handles this through a scene graph built from your finished press PDF. You mark which elements are fillable, lock everything else, and publish. The customer sees a live proof in which the fixed structure is untouchable and the designated fields accept their input in real time. No design rebuild required to get there.
Shops that want a deeper look at how this kind of permissions structure works in practice can read how to let customers edit a PDF without changing the design.
From Proof Approval to Press-Ready Download: The File Must Match
Proof approval is only meaningful if the approved file is the file that goes to press. This is where many browser-based tools break down: they use the proof as a visual aid but export a separately rendered file at download time. The two files may look similar on screen. They are not the same file.
What to verify before trusting a proofing tool's output:
- Color space integrity. Open the downloaded PDF in Acrobat and check the output intent and color space of each object. CMYK values on locked elements should match the source file exactly.
- Bleed and trim preservation. The downloaded file should carry the same bleed dimensions as the source. Confirm the PDF page geometry in Acrobat's crop box settings.
- Embedded fonts. All fonts should be fully embedded. Partial embedding or subsetting mismatches between preview and output are a preflight failure waiting to happen.
- Spot color pass-through. If the source PDF named a Pantone, verify it is still named in the output, not converted to a process equivalent.
- Image resolution. Personalized images placed by the customer should meet the shop's minimum DPI requirement for the output size. The proofing tool should either enforce this or flag it during the session, not silently downsample at export.
Running these checks before a job is approved is far faster than running a reprint afterward.
How to Choose an Online PDF Proofing Tool That Covers All Six Bases
Most tools on the market handle one or two of the six requirements well and compromise on the rest. A tool built for e-signatures handles form fields competently but has no concept of bleed or CMYK. A tool built for general PDF markup shows color reasonably well but cannot expose editable zones to customers in a structured way. A web-to-print platform may handle all six, but requires you to rebuild every template inside its editor before any of it works.
The checklist for evaluation:
- Does the tool ingest your finished press PDF without requiring recreation or redesign?
- Does the live preview render in CMYK, or does it convert to RGB for display?
- Does it handle spot colors without silent conversion?
- Does it clearly distinguish locked zones from editable fields in the customer-facing proof?
- Does the proof update in real time as the customer fills in fields?
- Does the downloaded file match the preview in color space, bleed geometry, and spot color naming?
If the answer to any of these is "no" or "we're not sure," the tool is asking you to approve on faith.
StackFill's approach is built around the finished file you already have. Ingest the press PDF, define the editable zones, publish a hosted proof link or embed the customizer on your site. The customer fills in their content against a live CMYK-native proof, and the file they download is press-ready without a last-second color space conversion. For print shops still hand-editing customer files before every job, that means the proof the customer approves is the file that goes to the press operator, not a close approximation of it.
That is what a live proof is supposed to be.