2026-11-17 · StackFill
How to Use PDF Layers for Print
Learn how to use PDF layers for print to lock press-critical content, open safe edit fields, and run a preflight audit before every print run.
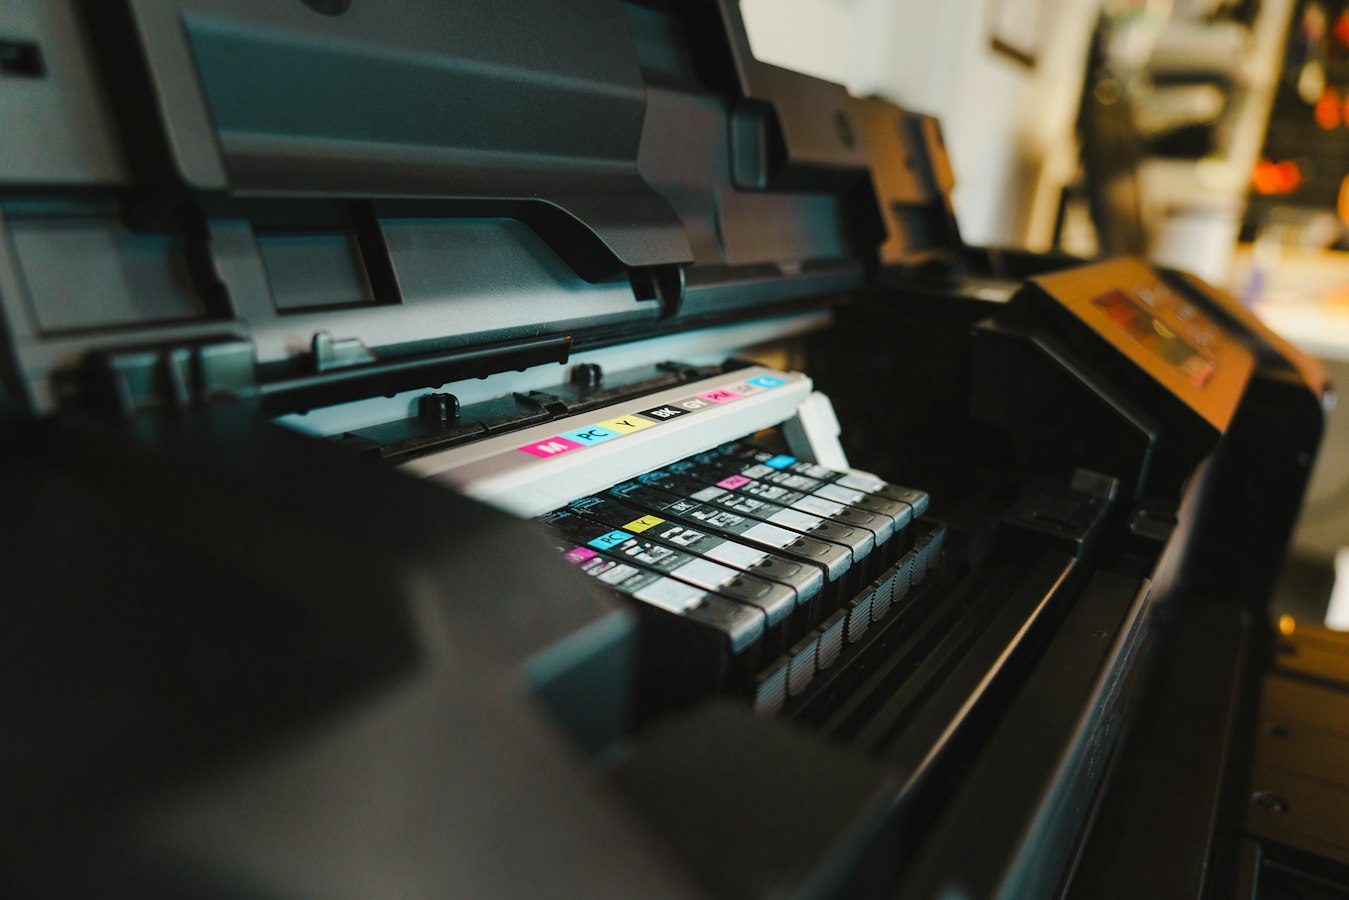
PDF layers are a prepress tool. Most designers use them for organization inside InDesign or Illustrator. Most customers never see them. But when a file moves from a designer's workstation to a personalization workflow, layers become the boundary between what the press needs and what the customer can touch. Get that boundary wrong and you get reprints.
This guide covers how PDF layers for print work, which layers carry press-critical content, which are safe to open for edits, and how to enforce the split without rebuilding your file.
What PDF Layers Actually Are (and Why Print Cares More Than Screen Does)
A PDF layer (technically an Optional Content Group, or OCG in the PDF specification) is a named container that can be toggled visible or hidden. Applications like InDesign export each design layer as a separate OCG. The PDF reader, or prepress tool, can then show or hide individual layers independently.
On screen, this is mostly a convenience. In print, it carries real weight.
Press-ready files contain content that must survive every step from RIP to cutter: bleed, overprints, spot color channels, crop marks, and registration marks. These elements live in specific parts of the layer structure. If a customer, or a well-meaning CSR, nudges the wrong element, the press sees a different file than the one that was proofed. The resulting output may have white gaps at the trim, dropped spot colors, or knockout failures where the design expected overprints.
The stakes are higher than a screen layout because a screen layout can be corrected after the fact. A press run cannot.
The Lock List: Layers the Press Cannot Afford to Lose
These layers should be read-only in any personalization workflow. Touching them introduces prepress errors.
Bleed and slug content. Bleed extends the artwork beyond the trim edge so the cutter can do its job without leaving white slivers. Background colors, full-bleed images, and border elements that live in the bleed zone must stay exactly where the designer placed them. If a customer drags a background element, it may pull out of the bleed and create a trim failure. See PDF Bleed and Trim Setup: Print Shop Reference for the exact measurements that matter.
Crop marks and registration marks. These are the cutter's and pressman's reference points. They belong at precise coordinates relative to the trim box. Any shift makes them unreliable. For a deeper look at how crop marks interact with the production file, read PDF Crop Marks: Print Shop Prepress Reference.
Overprint settings. Overprints control whether one ink layer prints on top of another or knocks it out. Rich black text almost always overprints. Spot color trapping often relies on overprint behavior. A customer cannot see overprints in a standard screen preview, which means they cannot fix a mistake they do not know they made. The Overprint vs Knockout CMYK: Print Shop Field Guide explains where these failures show up and how expensive they are.
Spot color channels. If the file carries a Pantone or custom spot, that channel must reach the RIP intact. Spot colors assigned to editable layers can be shifted to process equivalents by RGB-rendering preview tools, which corrupts the separation. Spot color integrity is covered in detail at Spot Color Preservation in Web-to-Print.
Embedded fonts that are not meant to be edited. Headline typography set in a licensed face, logotype lettering, and any text converted to outlines should stay locked. Unlocking a font layer and overwriting it with a system font changes the design. Separately, any live text layer on the locked list should have its fonts fully embedded before you publish. PDF Font Embedding for Print: Fix It Before Press covers the preflight steps.
ICC profiles and color management metadata. These travel with the file and tell the RIP how to interpret color values. They are not layer objects in the visual sense, but they are part of the file structure that must not be rewritten by a web preview tool.
The Free List: Layers Customers Can Safely Touch
A well-structured template isolates variable content into its own layers from the start. These are the fields customers can edit without touching press-critical content.
Name, address, phone, and other contact fields. Text fields placed by the designer in a dedicated personalization layer. The font, size, and color are already correct. The customer replaces the placeholder copy.
Variable images or headshots. A defined image frame at a fixed size and position. The customer drops in their photo. The frame clips it to the correct dimensions and keeps it out of the bleed.
Taglines, slogans, or location-specific copy. Short copy blocks that change by branch, rep, or campaign. The typeface is locked to the layer's character style. The customer fills in the words.
Variable barcodes or QR codes. A placeholder object the customer or the system replaces with a generated code. The size and color mode stay defined by the template.
The common thread: these layers contain content that varies by recipient but has no effect on press setup. Bleed, separations, and trapping are already correct for the finished file.
How Layer Control Breaks Down in a Typical Hand-Edit Workflow
Most print shops handle this today by opening the customer's approved PDF in Acrobat or Illustrator, making the edits manually, and sending the file to press. The designer or CSR doing the edit knows, most of the time, not to touch the locked content.
Most of the time is the problem. When volume goes up, when a new team member takes over a job, or when a customer sends revision notes at 4 PM on a Friday, the margin for error shrinks. Elements get moved. Overprints get flattened. A spot color layer gets nudged. The file goes to press looking correct on screen because screen rendering does not show overprint failures.
This is the core of the hand-edit tax. It is not just slow, it is fragile. The Print Shop Reorder Workflow: Stop Re-Editing Files article maps out exactly where these failure points cluster in a reorder cycle.
How StackFill Uses Your PDF's Layer Structure Without Rebuilding It
StackFill reads your finished print PDF, the one your designer already delivered, and parses its layer structure into a scene graph. You mark which elements customers may edit and which are locked. That's the entire setup step. You do not recreate the design. You do not reenter type specs. You do not rebuild anything.
When a customer opens the fill link or embedded widget, they see a live proof rendered from the actual PDF geometry. They can edit only the fields you opened. Bleed content, overprints, spot color channels, and crop marks sit in their original positions, untouched. When the customer approves and downloads, the output is a press-ready CMYK PDF, byte-identical in structure to the file your designer handed off, with only the variable fields populated.
No RGB conversion happens at download. The CMYK values your designer specified reach the RIP the same way they would from the original file. For shops running gang forms or needing PDF/X-1a compliance, that fidelity matters. See PDF/X-1a Compliant Web-to-Print: Keep It Press-Ready for how that spec intersects with personalization output.
This approach works for single-location print shops handling business cards and flyers, and it scales to franchise networks where dozens of locations fill the same template with their own contact details. The layer boundary stays the same either way. Brand Template Lockdown for Franchise Locations covers the franchise side of that use case.
A Quick Layer Audit Before You Publish Any Template
Run this checklist on every file before you mark it live. Getting PDF layers for print right at this stage prevents reprint conversations later.
- Open the PDF in Acrobat Pro and review the Layers panel. Confirm that bleed artwork, crop marks, and spot color objects are on named layers separate from any variable content.
- Check overprint settings. Use Output Preview (View > Tools > Print Production) and enable the overprint simulation toggle. If overprint simulation changes how the file looks, note which objects carry overprints. Those objects must be locked.
- Preflight for spot colors. Run a preflight check to confirm spot channels are present and named correctly. A spot color renamed during editing will not separate. See Print Ready File Preflight: 7 Errors That Cause Reprints for a complete preflight list.
- Confirm bleed dimensions. Standard is 0.125 in (3 mm) on all sides. Check that background layers extend to the bleed edge, not just the trim box.
- Verify font embedding on locked layers. Every font on a locked layer must be fully embedded. Partially embedded fonts can fail when the file passes through a prepress workflow.
- Test the fill flow end to end. Fill every variable field with realistic customer data. Download the output PDF. Open it in Acrobat's Output Preview and confirm CMYK separations are intact and no new RGB objects appear.
For shops managing many templates across campaigns or clients, Print Template Version Control for Print Shops describes how to keep audited files organized across revisions.
The layer boundary, locked press content on one side, open customer fields on the other, is what makes a template safe to hand to any customer without supervision. Get it right once in the source file and it holds for every order that follows.