2026-11-17 · StackFill
How to Stop Hand-Editing Customer Print Files
Stop retyping phone numbers in customer files. Lock your finished PDF, let customers edit set fields, and keep press control without rebuilding designs.
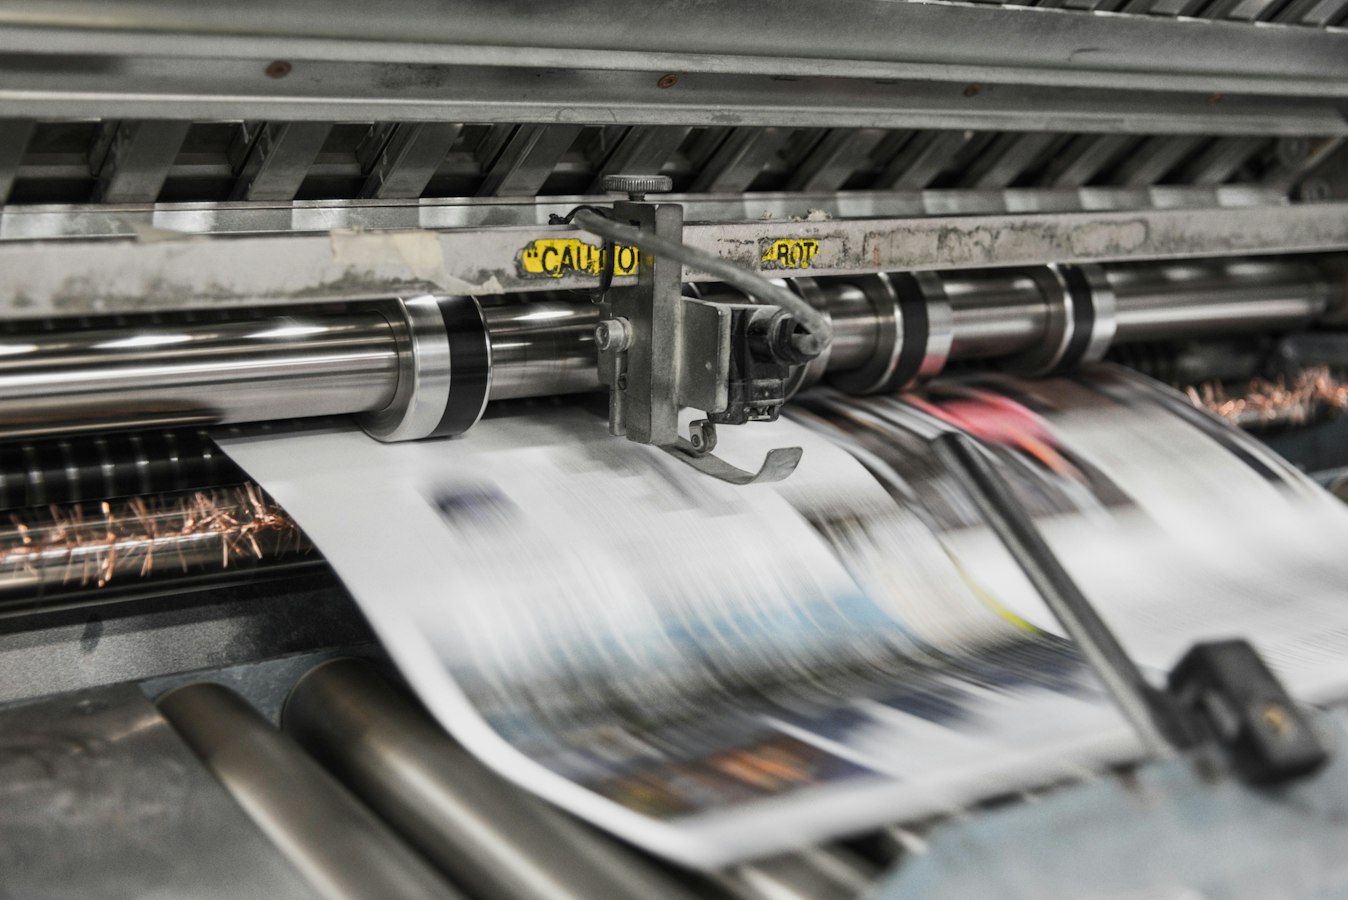
A customer emails. Their phone number changed, and they need 500 business cards by Friday. Someone on your team opens the job file, checks the fonts, fixes the number, exports a PDF, sends a proof, waits, fixes a typo the customer missed the first time, and exports again.
Most shops treat this as part of the trade. It isn't. Hand editing is a workflow choice, and you can change it without rebuilding a single design. This guide shows you how to stop hand editing customer print files. The customer makes the edits (name, phone, address, date), and your finished PDF stays locked.
What Hand Editing Customer Files Really Costs Your Shop
Before you fix anything, count it. Hand edits feel small because each one is small. The cost shows up in the total.
Track one week of simple text changes and write down every step:
- Reading the request and finding the right source file
- Opening it and checking for missing fonts or linked images
- Making the edit
- Exporting with the right PDF/X preset
- Sending the proof and waiting for a reply
- Making revisions and exporting again
- Preflighting before the job goes to the queue
Then do the math. Say a "quick" edit takes 20 minutes of real touch time across two rounds. At 20 of those a week, that's more than six hours of skilled prepress time spent retyping phone numbers. Run the same math with your own weekly job count.
Some costs never show up on a timesheet:
- Errors your staff add. A transposed digit typed by your team is now your reprint.
- Version drift. Someone edits last year's file, and the old logo goes to press.
- Export mistakes. One wrong preset can leave you with RGB images or a missing bleed.
- Queue delays. Paying jobs sit while prepress handles small edits.
Why Most Fixes Ask You to Rebuild the Design
The usual answer is web-to-print. Customers edit their own files, and the shop prints. The catch is setup. Most platforms need every design recreated inside their own editor before a customer can touch it.
That means rebuilding layouts element by element, remapping fonts, setting bleed again, and hoping colors come through. Spot colors and CMYK builds can get flattened into whatever the editor works in, and then converted back at export. With a catalog of hundreds of customer designs, the project starts strong and stalls around design number 30. We call this the recreation tax, and it's why so many shops go back to hand editing.
The tools aren't bad. The workflow asks you to do the design work twice. A better fix starts from the file that already prints correctly.
Step 1: Sort Each Element Into Editable or Locked
Pick one repeat job, like a staff business card, and go through every element on it. Each one goes into one of two groups: the customer can edit it, or it stays locked.
- Name: Status: Editable; Rule: Max 28 characters, fixed size
- Title: Status: Editable; Rule: One line, optional
- Phone, email: Status: Editable; Rule: Format hint, one line each
- Street address: Status: Editable; Rule: Two lines max
- Event date: Status: Editable; Rule: Set date format
- Logo: Status: Locked; Rule: Carried over as-is
- Brand colors, background: Status: Locked; Rule: No changes
- Legal or license line: Status: Locked; Rule: No changes
- Anything that bleeds: Status: Locked; Rule: Protects trim and bleed
A few rules make this sort work:
- Default to locked. Open only what changes from order to order.
- Set limits on every open field. Character counts and line limits stop text from running into the safe zone.
- Decide on gray areas now. Headshots and QR codes can be editable, but write down the rules first: minimum resolution, crop shape, quiet zone.
If your files are already split into layers, this goes faster. See PDF layers for print for how to draw a clear line between open and locked content.
Step 2: Use the Finished PDF You Already Have
Your press-ready PDF already has what matters: trim and bleed boxes, embedded fonts, CMYK builds, and named spot colors. It's been through preflight. It has printed well. There's no reason to recreate it.
Use the file you already have. StackFill reads your finished print PDF into a structured scene graph. You mark the fields from Step 1 as editable and lock everything else. Locked elements are carried over from the source file, not redrawn, so the logo, colors, and layout go to output as they were in your PDF. Then you publish a hosted fill link or embed the template on your storefront.
Check the source file before you upload it:
- Fonts are embedded. The fields customers edit need the full font, not a subset missing characters. Our guide to PDF font embedding for print covers this.
- Editable text is live text. If a name was converted to outlines, nobody can type over it. Export a version with live text from the original job file.
- Colors are where you want them. CMYK and spot colors stay as they are in the file, so fix them in the source if they need fixing.
You don't learn a new design system or change your production setup. You prepare one PDF the way you already do.
Step 3: Put a Live Proof in Front of the Customer
Self-serve editing works because the customer sees the result as they type. A live proof updates with each change, so the customer catches their own typo, sees a long title wrap badly, and fixes it before submitting.
The proof is rendered from the same file the customer downloads. What they approve is the content that goes to your press. That covers most of what hand-edit rounds were catching: spelling, line breaks, missing fields, the wrong office address.
Be clear with customers about what a screen proof can't do. On-screen color is not printed color. Final color depends on your press, stock, RIP, and proofing process. For brand-critical color, keep your hard proof step. Soft proofing vs hard proofing explains when each one belongs in the job.
Record the approval with the order. When a customer approves their own typed text against a live proof, you're no longer the one who typed the mistake.
Step 4: Preflight the Output and Keep Press Control
The customer downloads a press-ready CMYK PDF. Your shop still prints it, cuts it, and ships it. Nothing about your press, RIP, or imposition changes.
Treat customer output like any other incoming file and run it through preflight. Check:
- Trim and bleed boxes are present and correct
- All fonts are embedded
- No RGB objects or untagged images
- Spot colors are named as your press expects
- Total ink coverage stays within your limit
- Image resolution holds up at final size, especially for uploaded photos
- Overprint settings on black text are what you intend
A free PDF preflight tool is a quick way to spot-check output while you build trust in the process. After a few weeks of clean files, many shops move preflight from every order to a sample, plus every job with an uploaded image.
Where to Start
Don't try to convert the whole catalog. Pick the three jobs your team hand edits most, usually business cards, name badges, and event flyers. Sort their elements, load the finished PDFs, send the fill links to a few repeat customers, and preflight what comes back. Then compare the hours against your count from the first section.
If you want to see how this fits a shop like yours, read how StackFill works for print shops. Your prepress team goes back to prepress work, and customers type their own phone numbers.