2026-11-17 · StackFill
Color Management for Print: ICC and Soft Proofs
ICC profiles, rendering intents, and soft proofs explained for press. Learn how the three color management levers work together and where they fail.
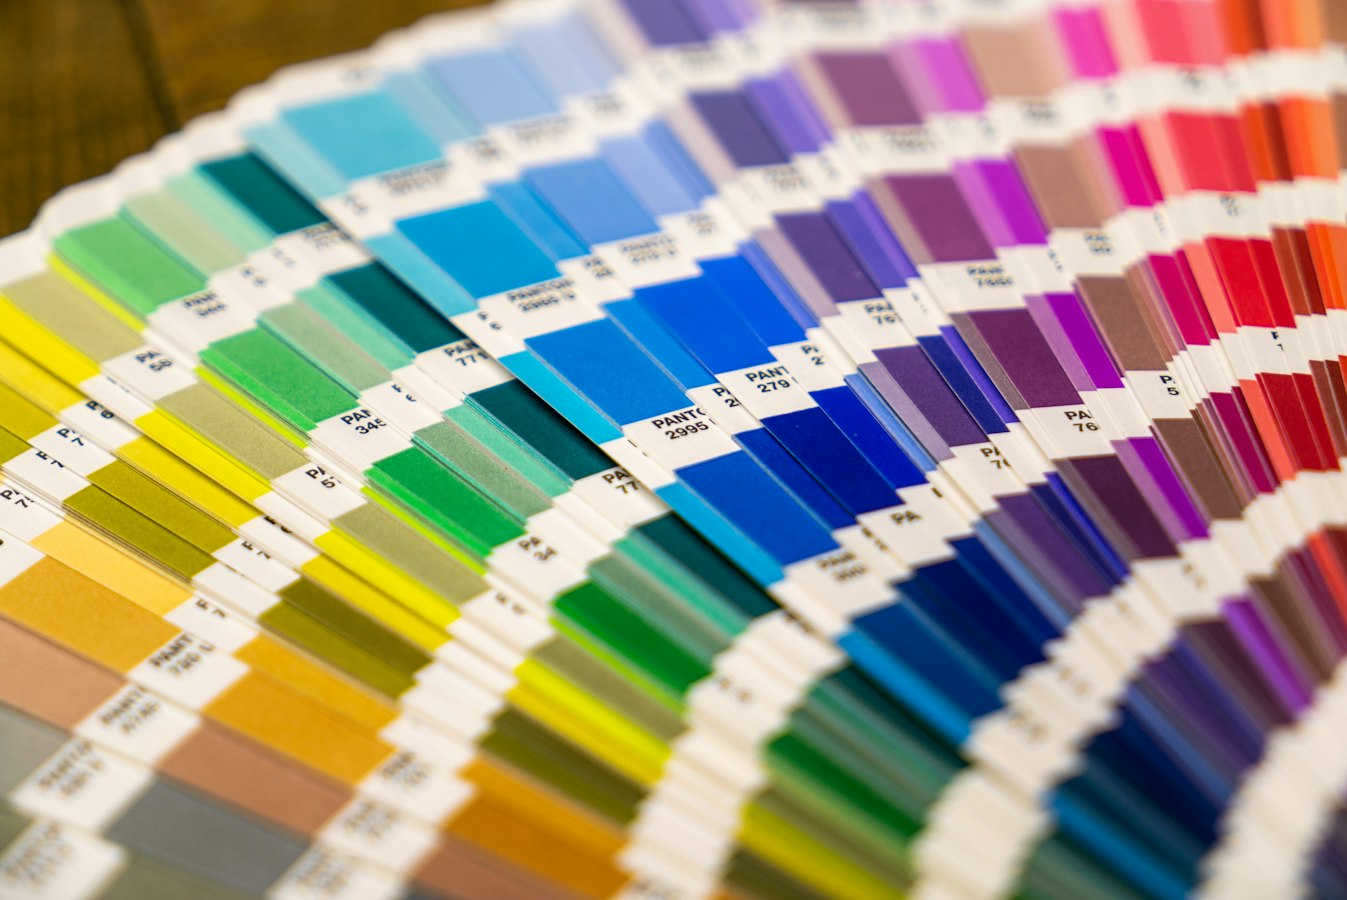
Color management for print is not one setting. It is three separate levers that have to agree with each other. You can get the ICC profile right and still miss on press because the rendering intent was wrong. You can nail both and still mislead a customer because the monitor they approved on was never calibrated to anything real.
This reference treats those three levers as what they are: separate tools with separate jobs. The goal is simple. The color a customer signs off on should be the color that comes off the press. Getting there means understanding what each lever does, what it cannot do, and how they fail together when one is ignored.
This is written for operators who already know CMYK is not RGB. If you need that groundwork first, start with CMYK vs RGB for print and the explanation of why CMYK is not a color mode. Everything below assumes you are past that line.
What ICC Profiles Actually Do (and What They Can't Fix)
An ICC profile is a description of how a specific device reproduces color. A printer profile says: when I send these CMYK values to this press, on this stock, with this ink, here is the actual color that lands. A monitor profile says the same thing for your display. The profile is a translation table, nothing more.
That is the whole job. A profile does not change your file. It tells the color engine how to convert numbers from one device's language into another's so the appearance stays as close as possible.
Here is what trips people up. There are two kinds of profiles in play, and they do different work.
Source profiles describe where the color came from. If an element was built in sRGB, the sRGB profile tells the engine what those RGB numbers were supposed to look like.
Destination profiles describe where the color is going. Your press or digital output profile (something like GRACoL for coated sheetfed, or a profile your RIP vendor supplied for your exact machine and stock) describes the target.
Color management works by connecting source to destination through a neutral reference space. Without a source profile, the engine is guessing what your numbers mean. Without a destination profile, it has no target to hit.
What a profile cannot fix:
- Out-of-gamut color. If a customer picked a bright RGB green that your press physically cannot print, no profile makes the ink reach it. The profile decides how to handle the miss, not whether a miss happens. This is the same wall you hit in Pantone to CMYK conversion.
- A bad file. A profile does not clean up low resolution, broken transparency, or missing fonts. Those are separate problems covered in print ready file preflight.
- A press that drifts. A profile is a snapshot of your press on the day it was characterized. If the press is not maintained, the profile describes a machine that no longer exists.
The practical takeaway: your destination profile has to match your actual output condition. One generic CMYK profile across every stock and machine is a guess. For how profiles ride along inside the file itself, see the PDF color profile embedding reference.
Rendering Intents: Which One to Choose and Why It Matters on Press
When color has to move from a larger gamut into a smaller one, something has to give. The rendering intent is the rule that decides what gives. This is the lever most shops set once and never think about, and it is the one that quietly changes how your work looks.
There are four intents. Two matter for most print work.
Perceptual shifts the entire range of colors together so relationships between them stay intact. Shadows stay separated, gradients stay smooth, nothing clips hard. The cost is that in-gamut colors move too, even ones the press could have hit exactly. Perceptual is the safe choice for photographs and images with lots of saturated detail.
Relative colorimetric keeps every in-gamut color exactly where it is and only pulls out-of-gamut colors to the nearest printable edge. Colors your press can already reproduce stay accurate. The risk is that several out-of-gamut colors can all get mapped to the same edge, flattening detail in the brightest or darkest areas. With black point compensation turned on, relative colorimetric is the standard choice for most print jobs, especially anything with brand color, logos, or solid fills.
Absolute colorimetric is for proofing one paper's white on another paper. It simulates the target stock's paper tone. You use it on a proofer to predict a press sheet, not for final press output.
Saturation pushes for vivid color over accuracy. It belongs to charts and signage, not photographic or brand work.
Why this matters on press: imagine a customer with a corporate blue that sits just inside your gamut. Under relative colorimetric, that blue prints accurately. Under perceptual, the whole image compresses and that blue shifts to make room for colors that were never going to print anyway. The customer approved the blue. Now it is off, and nobody touched the file.
Pick the intent that fits the content, not a blanket default. Photo-heavy marketing piece: perceptual. Logo, solid brand fill, or a card that lives or dies on one color: relative colorimetric with black point compensation. Mixed job: sometimes you convert images and vector separately. For files carrying named spot colors, intent interacts with how those spots are handled, which is its own discipline in spot color preservation.
Soft-Proof Setup: Building a Monitor Condition You Can Trust
A soft proof is a screen prediction of press output. It is only as honest as the monitor showing it. An uncalibrated display showing "the file" is showing you that display's opinion of the file, not the press result. That gap is where most color arguments start.
A trustworthy soft-proof condition has four parts.
A calibrated, profiled monitor. Calibration sets the display to a known state. Profiling measures and records how it actually behaves. You need both, done with a hardware device, not by eye. Aim for a white point around D50 to D65 depending on your viewing setup, a gamma of 2.2, and a luminance that is not blasting at full brightness. Redo it on a schedule because displays drift.
Controlled room light. If daylight from a window is hitting your screen, your eyes adapt and your color judgment moves with them. A consistent, neutral ambient light is part of the proof. A proper viewing booth for hard-copy comparison matters too, which is the whole point of soft proofing vs hard proofing.
The right destination profile loaded. Soft proofing means telling your software to simulate a specific output profile. Simulate the actual press and stock. Simulating the wrong profile is worse than not simulating at all, because it looks authoritative and is wrong.
Paper and black simulation turned on when you need the truth. These options show how much the stock's white and the ink's darkest black pull the image away from screen ideal. They can look dull on screen. That dullness is honest. It is closer to what the sheet will do.
The hard part is the customer's screen. You can control your proofing station. You cannot calibrate the laptop a customer approves a proof on at midnight. This is why a soft proof should be framed as a layout and content check backed by your characterized conditions, not a promise that their screen equals your press. A good online proofing tool with live preview sets that expectation, and the rendering checks behind a trustworthy preview are worth auditing.
Where the Three Layers Break Down Together
Each lever can be individually correct and the job can still miss, because color management is a chain. A chain fails at its weakest link, and the failure often hides until the sheet comes off.
Common combined failures:
- Right profile, wrong intent. Your destination profile matches the press perfectly. But perceptual intent on a brand-color job shifted an in-gamut logo color. The profile did its job. The intent undid it.
- Right intent, bad monitor. You chose relative colorimetric correctly, but the proof was approved on an uncalibrated screen that ran warm. The customer approved a warm version. The press runs neutral. They call it a miscolor. The file was fine.
- No embedded source profile. An element comes in as raw RGB with no profile. The engine assumes a default that may not match the original intent. The conversion happens on a guess, and the guess is baked into the plate.
- Profile mismatch at the RIP. Your file says one thing, the RIP is configured to override it with another. Two valid profiles, fighting, and the RIP wins silently. This is a cousin of the transparency and flattening risks at the RIP.
- Late RGB to CMYK conversion. The worst one. Everything upstream was managed, then a last-second automatic conversion at output throws away your control and converts with whatever default the tool prefers. The proof the customer saw no longer predicts the sheet.
That last point is the whole reason to keep files CMYK-native from proof to press. If the proof is rendered from the same CMYK values the press receives, the chain has one fewer place to break. For a full gate that catches these before plates, use a press-ready PDF intake checklist and lock your shop's CMYK color accuracy audit into intake.
Personalized Files and Color Management: Keeping It Consistent After the Customer Edits
Color management is usually discussed for a static file. The moment you let a customer personalize a file, you add a new risk: the edit itself can break the chain.
Picture a template with a brand color locked into the design. The customer types their name and picks a stock. If the personalization tool re-renders that file through a web editor that works in RGB, your carefully managed CMYK values get converted on the way through. The customer approves an RGB proof. The press gets an RGB-to-CMYK conversion done by the editor, not by you. The brand color drifts, and you did not change a thing.
This is where the recreation-based tools cause quiet damage. When a design is rebuilt inside a web-to-print editor, its color values pass through that editor's color model, and the output is whatever that model produces. The convenience hides a conversion. The cost of that rebuild is spelled out in the recreation tax.
The way to keep color management intact through personalization is to not re-render the file at all. StackFill reads your finished print PDF into a structured scene graph, so you mark the few elements a customer may edit and lock everything else. The customer personalizes against a live proof, and the download is a byte-identical, press-ready CMYK PDF. The CMYK and spot values you set stay exactly as they were. The proof the customer approves is built from the same values the press runs, not a conversion made at checkout.
That matters most where the same template goes out across many users or locations, because one color drift multiplies. It is the backbone of keeping color honest in variable data printing from a finished PDF and in brand template lockdown for franchise locations, where a corporate color has to hold across every order. For the full mechanics of editing a file without touching its design, see how to let customers edit a PDF without changing the design.
The principle stands even if you never do personalization: do not let a tool convert color behind your back. Keep the managed values managed from proof to plate.
Color Management Checklist Before You Hit Print
Run this before output on any job where color matters.
Profiles
- Destination profile matches the actual machine and stock, not a generic CMYK default.
- Every placed element has a source profile, or you have assigned one deliberately.
- Monitor is calibrated and profiled on a current schedule.
Rendering intent
- Intent chosen to fit the content: perceptual for photographic range, relative colorimetric with black point compensation for brand and solid color.
- Absolute colorimetric used only when simulating one paper on another, never for final press.
Soft proof
- Soft proof simulates the correct destination profile.
- Paper and black simulation on when you need an honest preview.
- Room light is controlled; you are not judging color next to a window.
- Customer-facing proofs are framed as content and layout checks backed by your characterized conditions, not a guarantee of their screen.
The chain
- No surprise RGB-to-CMYK conversion happens at output.
- RIP settings are not overriding your file's profiles without you knowing.
- Spot colors are preserved as named colors where they must stay spot.
- Personalized files keep their CMYK and spot values through editing, not re-rendered in RGB.
Color management is three levers working together. Get the profile right so the engine has a real target. Pick the intent that fits the content so in-gamut color survives the squeeze. Build a monitor condition you can trust so the proof is honest. Ignore any one and the other two cannot save the job.
If you want the color a customer approves to be the color that runs, the shortest path is to stop re-rendering files. See how StackFill keeps the proof and the press on the same values, and read more prepress references on the StackFill blog.