2026-11-16 · StackFill
Canva Print File: What's Missing and What to Fix
A Canva print PDF needs prepress work before it runs. This checklist covers CMYK conversion, bleed, TAC, transparency, and font fixes for print shops.
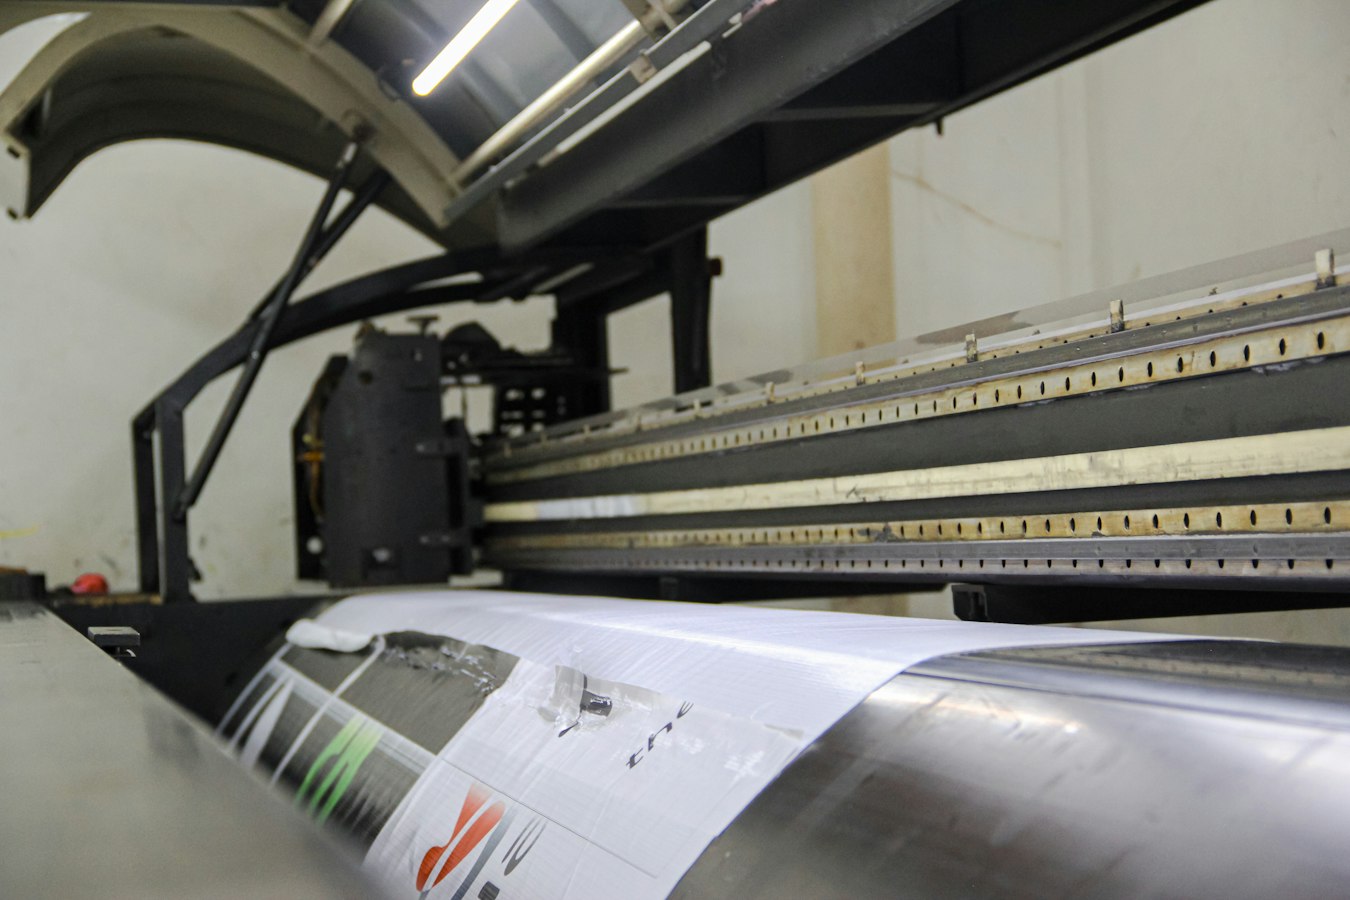
A customer sends you a PDF exported from Canva. It looks fine on screen. You open it in Acrobat and something is already wrong: the colors are sRGB, the bleed is missing, and a drop shadow is sitting on a transparent layer. This checklist covers what a Canva print file contains, what it leaves out, and what a print shop must do before it runs.
What a Canva Print File Actually Contains
Canva's "Print-ready PDF" export produces a flattened file with embedded fonts and resolution that typically lands between 150 and 300 DPI depending on how assets were placed. The file ships as RGB by default. Canva's color engine is built for screens, not a CMYK press.
If the customer chose the standard PDF download rather than the "Print Bleed" option, there is no bleed at all. Even with bleed enabled, Canva adds 0.25 inches per side, which meets the minimum but is worth confirming against your press spec.
Fonts are converted to outlines on export, so you will not see a missing-font error at preflight. The downside: outlines are curves, not editable text.
The Missing Pieces
Run a Canva file through your preflight tool and expect to flag most of these:
- CMYK color space. The file arrives in RGB or sRGB. Conversion at the RIP introduces color shifts the customer never approved. See CMYK vs RGB for Print: What It Costs Your Shop for what that shift looks like on common ink sets.
- Bleed (often). Customers do not always choose the bleed export. When they don't, you have a hard trim edge with no safety margin.
- Crop marks. Canva can include them, but they are often inside the live area on shorter templates. Check PDF Crop Marks: Print Shop Prepress Reference for correct placement.
- PDF/X conformance. A Canva export is not a PDF/X-1a or PDF/X-4 file. It carries no output intent profile, so your RIP makes color decisions without instruction.
The Prepress Fixes You Will Have to Make
- Convert color to CMYK using a calibrated profile for your press condition (SWOP, GRACoL, or a house profile). Do not rely on the RIP's automatic conversion without reviewing the result.
- Add or extend bleed. If the file has none, you either extend the background manually or reject the file and send the customer back for a corrected export.
- Preflight for ink coverage. Heavy black backgrounds in Canva files frequently exceed safe Total Area Coverage. See Ink Coverage Limit Print: TAC Prepress Reference for the numbers by press type.
- Embed the correct ICC profile and declare the output intent. PDF Color Profile Embedding: Prepress Reference covers the mechanics.
- Check image resolution. Canva compresses placed images on export, and a 300 DPI source can come out softer. See PDF Resolution for Print: Beyond the 300 DPI Rule if you see unexplained softness in raster areas.
Font and Transparency Problems That Hide Until Press
Outlined text at small point sizes can show rasterization artifacts after flattening, especially when the text sits on a transparency layer. Canva uses transparency heavily: drop shadows, gradient overlays, and blurred elements are all transparency objects. A shadow near a spot-color element can trigger a knockout where you expect an overprint, or leave a thin white halo around reversed text. PDF Transparency in Print: RIP Risks and Fixes explains how to catch these before press.
Also check for rich black on thin text. Canva defaults to a four-color black that causes registration problems on text below 18 pt. Review your shop's rich black CMYK threshold and correct as needed.
When the Same File Needs to Be Personalized Again
This is where Canva print files become a repeat labor problem. A customer reorders the same business card with a new phone number, or a franchise location needs the same flyer with a local address. Each reorder means someone opens the file, makes the edit, re-preflights, and sends a new proof.
If the original Canva PDF has already been corrected and is press-ready, you do not need to touch the design again for every personalization. StackFill ingests the corrected PDF as-is, lets you mark which fields customers may change, locks everything else, and publishes a hosted fill link. The customer enters their information against a live proof and downloads a press-ready CMYK PDF.
That workflow is covered in Web to Print Without Rebuilding Templates and Reduce Print File Editing Time for Customers. Fix the file once, then let the tool handle every subsequent personalization without your team touching it again.
Use the Corrected PDF as the Permanent Master
Canva print files need prepress work. That is what happens when a screen-first design platform exports for press. Your checklist: convert color, verify bleed, check TAC, flatten transparency cleanly, confirm resolution.
Once you have a corrected, press-ready PDF, treat it as the master. Build personalization on top of it rather than re-editing it by hand for every order. For shops handling volume reorders or franchise locations with small text changes, that distinction is the difference between a profitable job and one that eats its margin in prepress time.
Start with Print Ready File Preflight: 7 Errors That Cause Reprints for a broader preflight checklist, or see how StackFill works if your shop is ready to stop re-editing corrected files by hand.